
All lab members are expected to use Kanobo for documenting and organizing all lab-related tasks, including in-person experiments and remote work.
Each person should be keeping records daily, where each experiment includes descriptions of i) the purpose or goal, ii) methods: protocols, materials/reagents, calculations, sample numbers, etc. planned in advance, iii) observations, notes during the experiment, iv) results: graphs, pictures, source data, links to large files, iv) interpretation of results, v) discussion of next steps.
The workspace should serve as a comprehensive history of all work done for the projects in the lab. When viewed by a third person, the steps taken to advance and complete the project should be abundantly clear with enough detail to be reproduced.
Lab members should refer to content in their Kanobo projects during 1-on-1s to discuss methods, data, ideas, etc.
1) Use the whiteboard feature to brainstorm projects & experiments (optional)
You can include links to your specific projects and experiments.
2) Use the kanban tool to create projects + experiments.
Project (level 1): Think of one project as what will become a single paper, or if you are early in your research, one project can denote one large “aim” of a few that will become a single paper. If you want to use kanobo to manage fellowship or manuscript writing, the Project level can be a single fellowship or a single manuscript to write.

Experiment (level 2): These are the individual items on the kanban. Think of these as individual (sub)subaims that have clear scientific goals, and that include all the experimental groups and control groups contained within. The experiment should have a goal to answer a full scientific question, rather than to complete a task that doesn't answer a question on its own.
Add a short description the goal of each experiment
Add an estimated completion date, which you can revise if you need
Track your deadline history to learn more about your habits
If your project is to write a manuscript or fellowship, the experiments are individual writing components

3) Add lab notebook entries per experiment.
Task (level 3): Think of entries as lab notebook entries but grouped by task, not by date. Specific tasks can include setting up a bacterial culture, or collecting samples from mice, or preparing for a certain assay, etc..

Add new entries by task, not by date. Dates are automatically saved with entry updates, so there is already a history log.
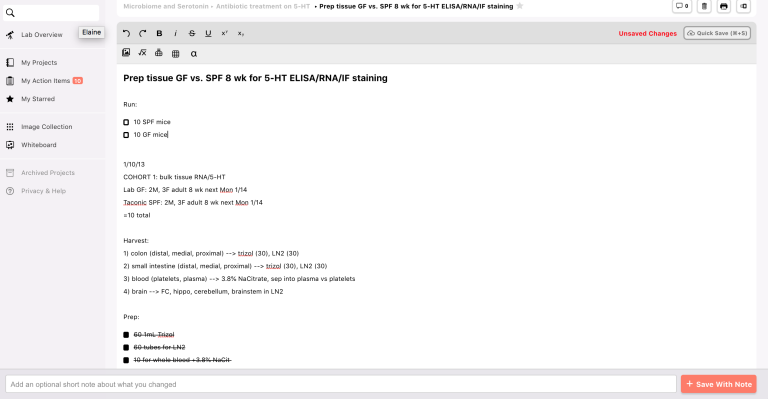
Document everything in the entries, as you would a comprehensive lab notebook.
Plan experiments, include calculations, spreadsheets, reagent details, actions, results, interpretation notes
Drag in images, photos
Make comments
Upload data files, or link them if they are really huge and stored elsewhere
To-do list (level 4): Within each entry, you can include to-do lists. Think of these as the checklist of specific actions to complete the task. For example, the mice that need to be run, the items to order, the tubes to prep, etc.
For standard protocols, create a new entry as “Protocol: Title” and star it
4) Get and give help and advice
In entries, tag lab members in comments to ask for feedback
Search protocols and keywords from other lab members’ entries
Contribute as a collaborator on other lab members’ projects
Give feedback by responding to comments in other lab members’ entries
5) Track your own progress and the lab’s progress
Lab overview page: all the projects in the lab + recent updates
Action item page: your open to-do list items, unresolved comments across all entries
Your project page: big picture in-progress + upcoming experiments
6) Use kanobo during 1 on 1s (optional)
Text can be in whiteboard or entry
Figures are in entry or image collect
Add 1 on 1 action items as to-dos or comments in kanobo
7) Compile images embedded in kanobo into multipanel figures
Drag figure images into entries
Pin them to add to a multipanel figures
Include legend descriptions
8) When the whole project is completed, archive it.
It will stay in forever in kanobo and still be searchable by current and future lab members.